
Note: I’m based in Korea, so some context here is Korea-specific.
To use AWS from GitHub Actions, you typically go through the following steps.
- Go to the IAM console and create a new user.
- Add an IAM Role for GitHub Actions and use Programmatic access to issue an
AWS_ACCESS_KEY_IDandAWS_SECRET_ACCESS_KEY. - In your repository settings, add the freshly issued
AWS_ACCESS_KEY_IDandAWS_SECRET_ACCESS_KEYto GitHub Secrets. - Then add a workflow like the one below in GitHub Actions to access AWS resources.
- name: Configure AWS Credentials
    uses: aws-actions/configure-aws-credentials@v1
    with:
    aws-access-key-id: ${{ secrets.AWS_ACCESS_KEY_ID }}
    aws-secret-access-key: ${{ secrets.AWS_SECRET_ACCESS_KEY }}
    aws-region: us-east-2
If you only have one project, managing things this way isn’t a big problem.
But once the number of projects using AWS starts to grow, you run into a few headaches.
For example, do you issue one IAM User per repository? Or do you issue a single super user and reuse the same ACCESS_KEY and ACCESS_SECRET everywhere?
Issuing a super user isn’t a great practice, since if the key ever leaks you might be greeted with a hefty AWS bill.
On the other hand, issuing many users means that as the user count grows, it becomes hard to track which key is being used where.
Recently it became possible to attach a Description to each Access Key, which made management a bit easier, but before that it was very common to be unable to touch a key because nobody knew where it was being used.

Going one step further, things get even more painful when you try to follow the Access Key management best practices.
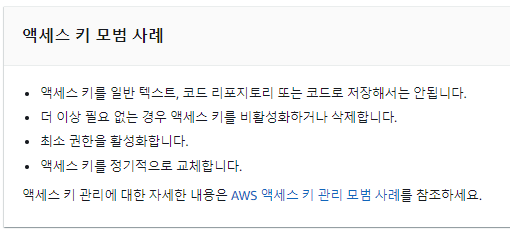
According to best practices, you should rotate long-term credentials periodically, but the thought of regularly issuing new keys and swapping out repository Secrets is a headache.
(The non-expiring ACCESS_KEY and ACCESS_SECRET you receive are called long-term credentials.)
Wouldn’t it be great if I didn’t have to plug a Key into Secrets every time, and the system just automatically supplied my key only to my own repositories?
Also,
Wouldn’t it be amazing if every time Actions runs, it issues a short-lived temporary token, so that even if the token leaks, it expires after a while and becomes unusable?
This is possible via OIDC integration! It’s also AWS’s recommended security best practice (Link ).
Let me introduce a method that, once set up, makes running Actions much more convenient!
- The official documentation describes the setup process. If you get stuck somewhere, refer to the official docs (Link )
1. Create an OIDC Identity Provider
- Go to the IAM Console: https://console.aws.amazon.com/iam/
- From the left menu, select Identity providers, then click Add provider.
- Configure as follows:
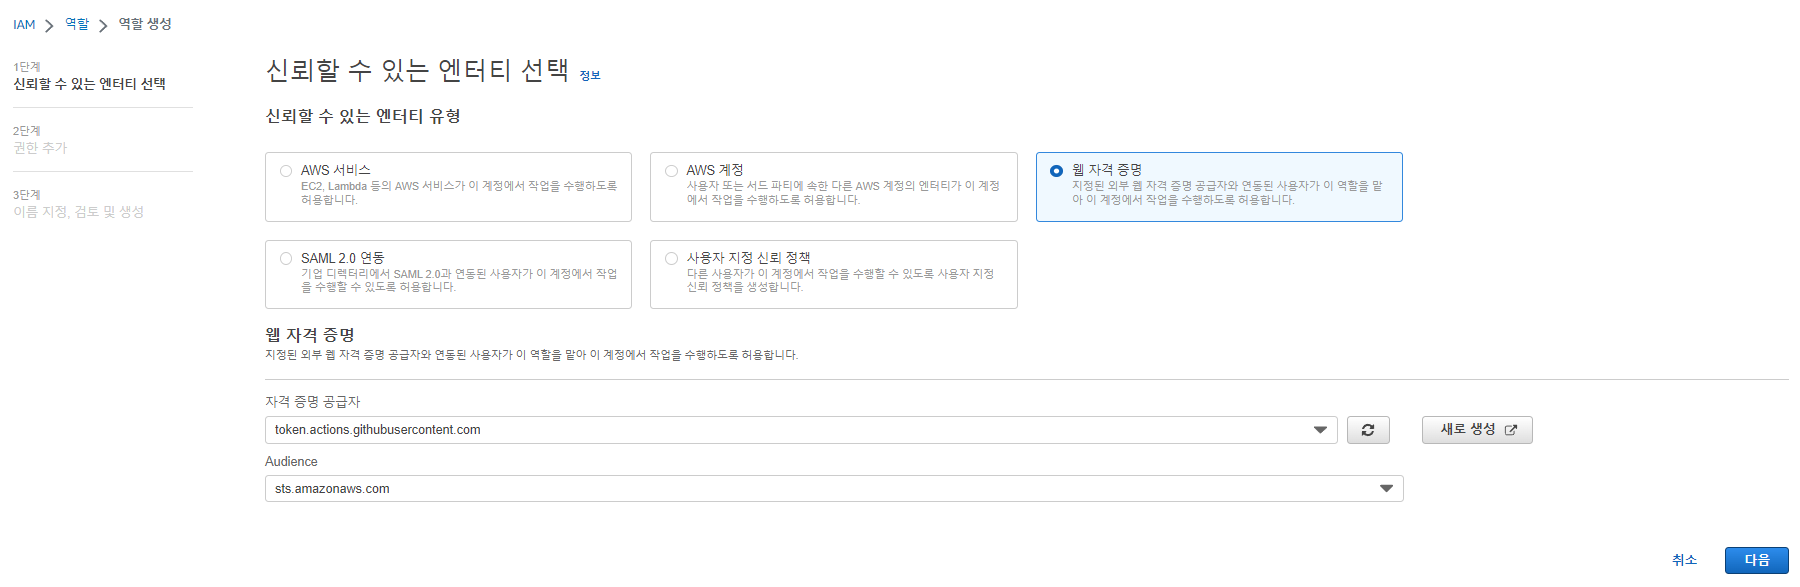
- Provider URL:
https://token.actions.githubusercontent.com - Audience:
sts.amazonaws.com
- Provider URL:

- Then click “Get thumbprint” and add the provider.
2. Create an OIDC-Linked Role
- Select the Roles menu and create a new role.
- Choose Web identity and select the GitHub Provider you created in step 1, as shown below.
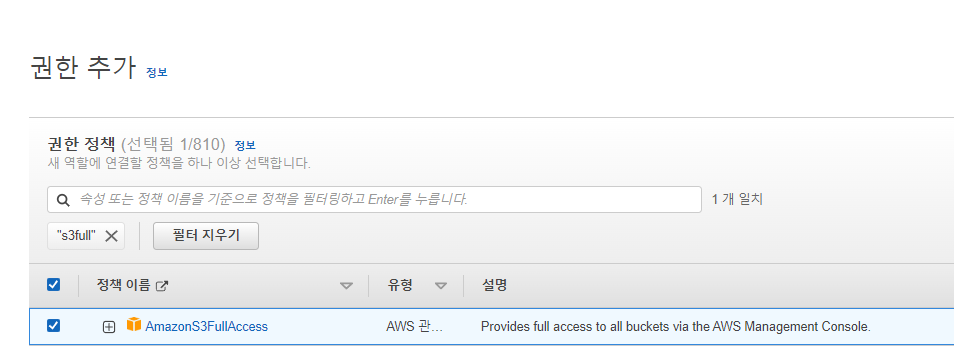
- For permissions, since this is a simple example, I used the Managed Policy
S3FullAccess.- In real usage, you can also build your own policy.
- Give it a suitable name and description, then create the Role.
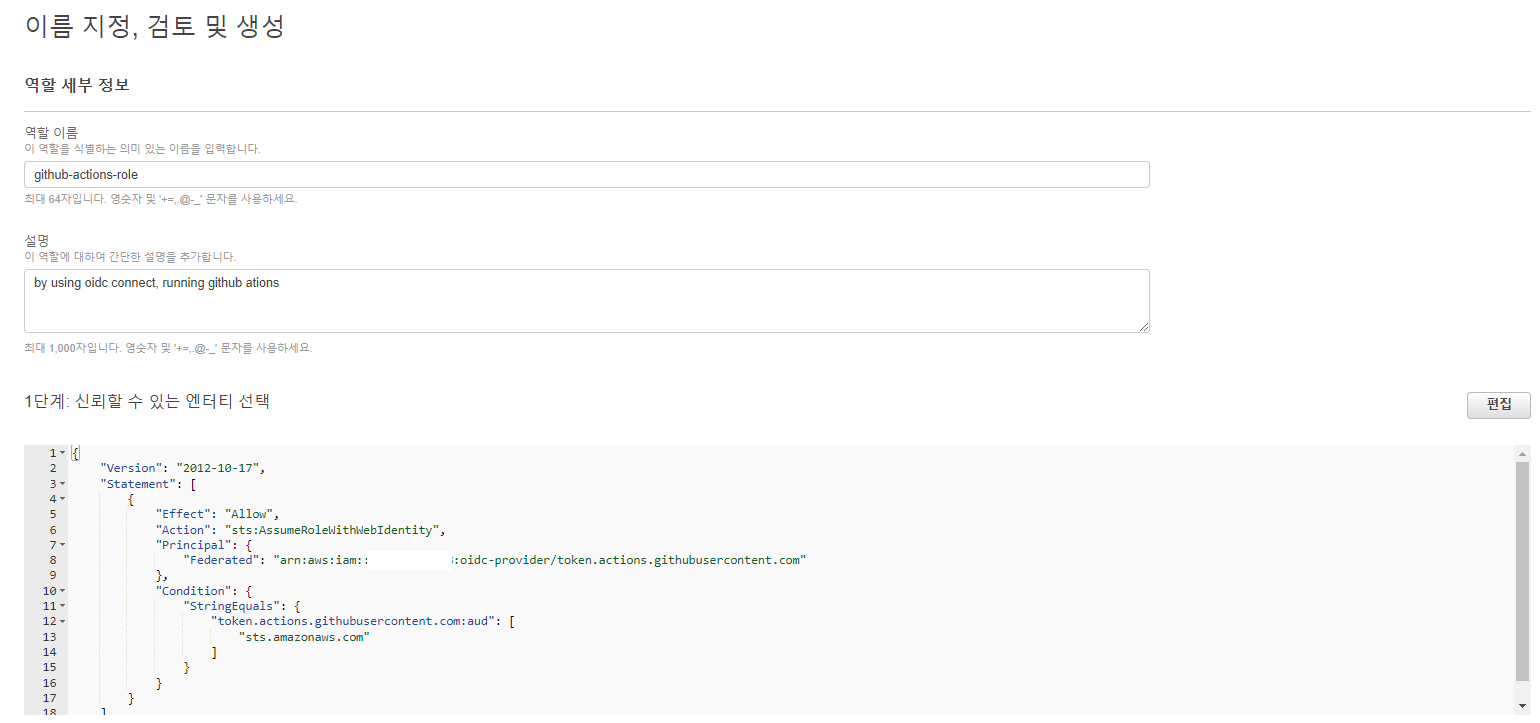
- Done! Make a note of the Role’s ARN somewhere.

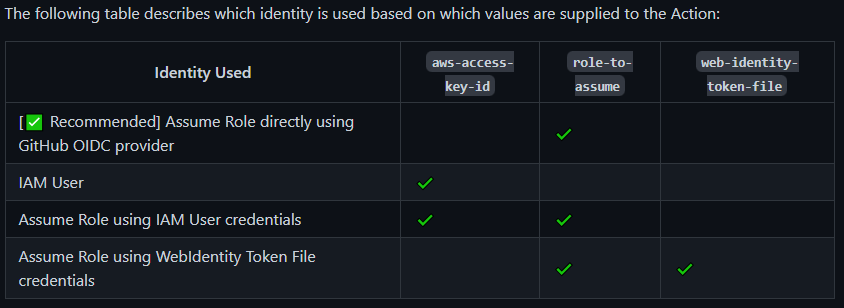
3. Use the Role in GitHub Actions
You can use the Role you just created like this.
Create a new repository and add
.github/workflows/oidc-connect-test.yaml.No Access keys or Secrets need to be configured at all!
The Actions workflow below uploads the current repository to S3 as-is.
Adjust the following parts to fit your setup:
- Replace the
role-to-assumevalue with the ARN of the Role you noted in step 2. - For testing, create a bucket with any name and replace
<bucket-name>with that bucket’s name.
- Replace the
name: OIDC Connect Test

on:
  push:
    branches: [ main ]

jobs:
  deploy:
    name: OIDC Connect Test
    runs-on: ubuntu-latest
    # These permissions are needed to interact with GitHub's OIDC Token endpoint.
    permissions:
      id-token: write
      contents: read
    steps:
      - name: Checkout
        uses: actions/checkout@v3

      - name: Configure Github Actions AWS credentials
        uses: aws-actions/configure-aws-credentials@v1
        with:
          role-to-assume: arn:aws:iam::123456461:role/github-actions-role # Use the Role you just created
          aws-region: ap-northeast-1

      - name: Copy file to S3
        run: |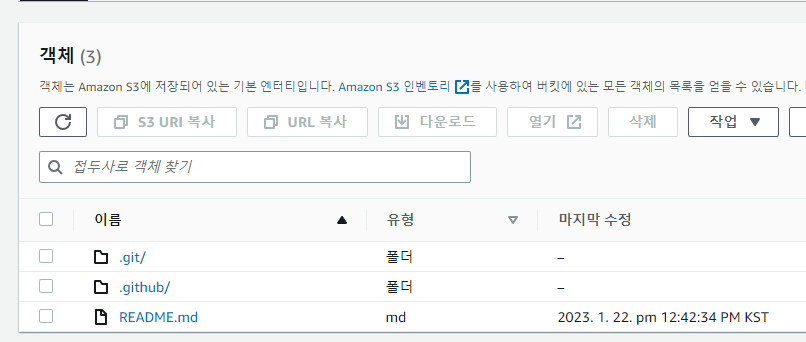
aws s3 sync . s3://<bucket-name>- After that, if Actions runs successfully
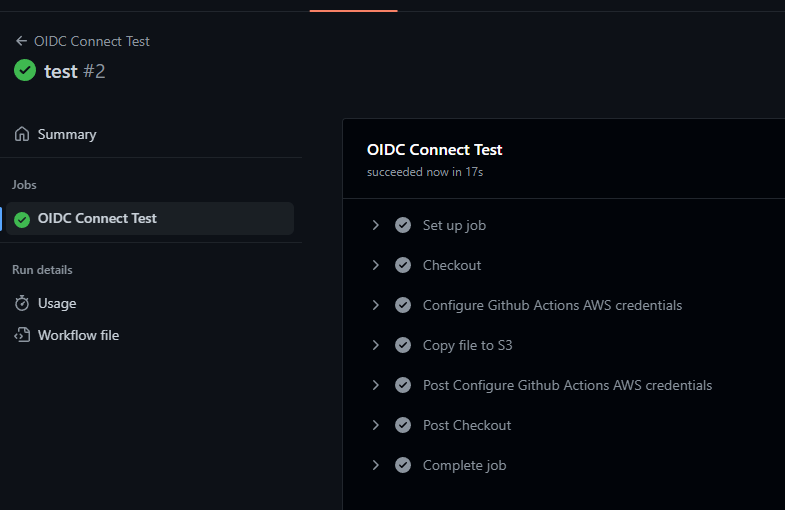
- And the repository files are actually uploaded to S3, you’ve succeeded!
Appendix 1. Hardening Security
- Since this is for personal use, currently any repository can fetch credentials, but you can also limit it to specific repositories.
- When creating the Role, adding the repo as shown below restricts AWS usage to all branches/PRs of
octo-org/octo-repoonly.
{
    "Version": "2012-10-17",
    "Statement": [
        {
            "Effect": "Allow",
            "Principal": {
                "Federated": "arn:aws:iam::123456123456:oidc-provider/token.actions.githubusercontent.com"
            },
            "Action": "sts:AssumeRoleWithWebIdentity",
            "Condition": {
                "StringLike": {
                    "token.actions.githubusercontent.com:sub": "repo:octo-org/octo-repo:*" # Add this part
                },
                "StringEquals": {
                    "token.actions.githubusercontent.com:aud": "sts.amazonaws.com"
                }
            }
        }
    ]
}
Appendix 2. How do I manage Roles?
- Now that you’ve done the initial setup, whenever you need a new Role, just go through step 2 (Create an OIDC-Linked Role) again to create a new Role and swap out the
role-to-assumevalue.
That’s it!
Comments