Note: I’m based in Korea, so some context here is Korea-specific.
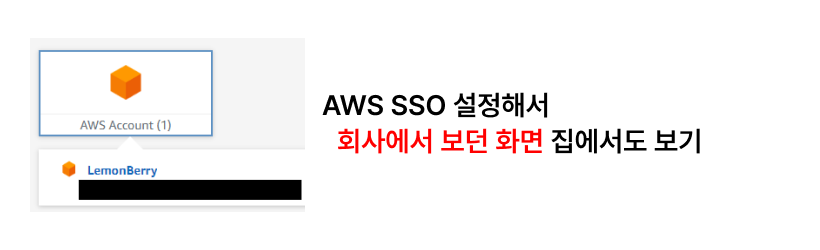
If you’ve used AWS at a company or organization, you’ve probably seen an SSO (Single Sign On) login page like the one below.
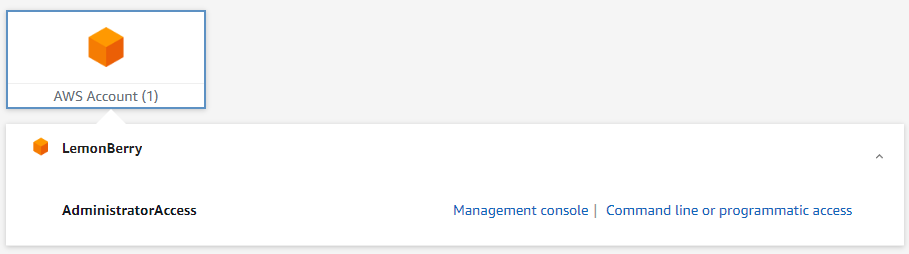
Once it’s set up, you don’t have to enter your id/password every time as long as the session is alive, which is convenient.
It’s also a security win when using aws-cli or aws-sdk, since you don’t have to store sensitive values like AWS_ACCESS_KEY and AWS_ACCESS_SECRET in plaintext on your local machine.
And it’s a free service (Link ), so it costs nothing extra!

So let’s set it up!
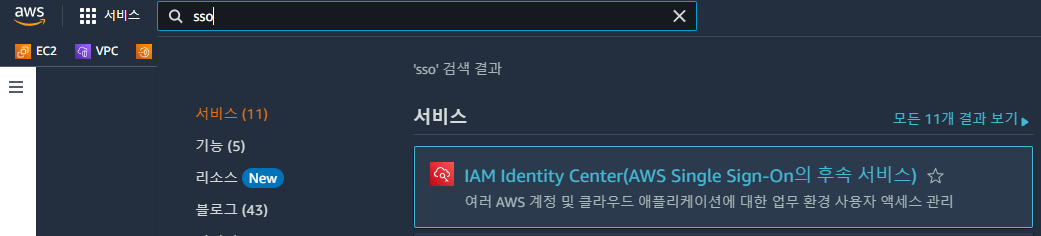
1. Setting Up IAM Identity Center
1. In AWS, search for SSO and find IAM Identity Center.
2. Click Enable!
- Identity Center can only be enabled in one region, so enabling it in the region you mainly use makes management easier later.

3. First, set up AWS Organization.
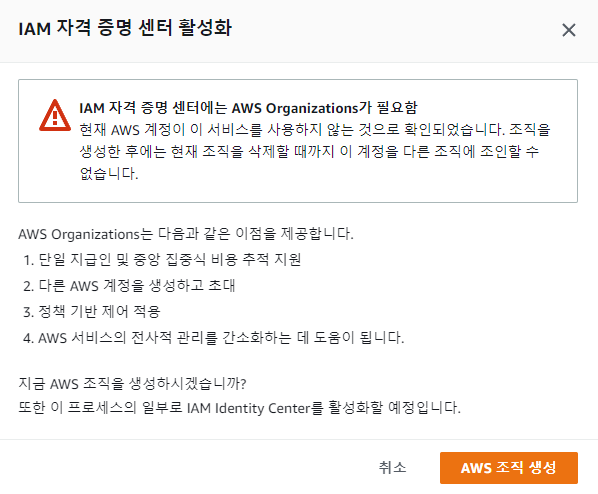
- You’ll hit an error like the one above, so create AWS Organization first.
- AWS Organization is also a free service. (Link )
4. The Dashboard will be created. Click “Go to settings” for further configuration.

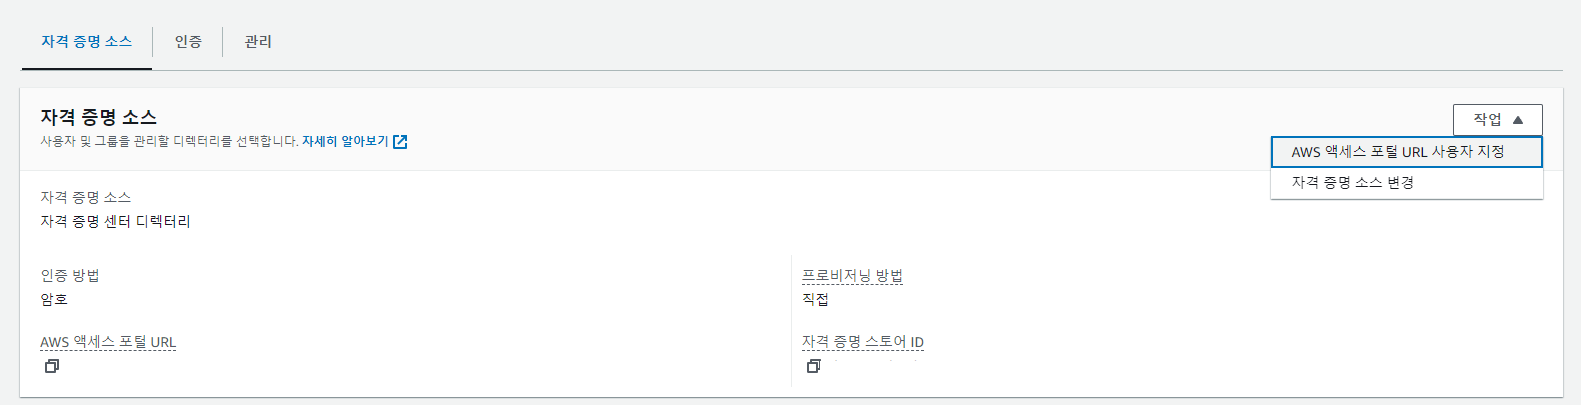
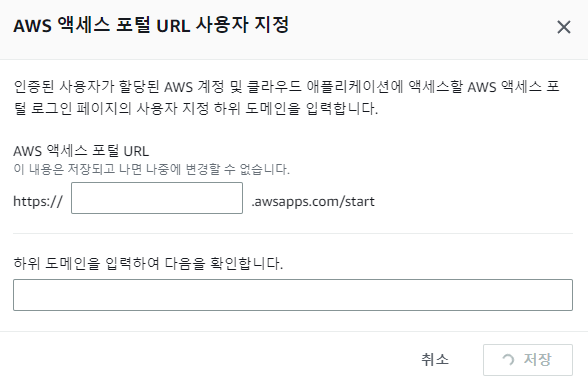
5. First, let’s give the SSO login page an alias.
- The default login page is auto-generated like
aadfbasdf-d.awsapps.com/start, which is hard to remember. - Let’s give it a friendly name like
lemonlogin.awsapps.com/start. - You can only set this once, so choose carefully!
6. Let’s add a group!
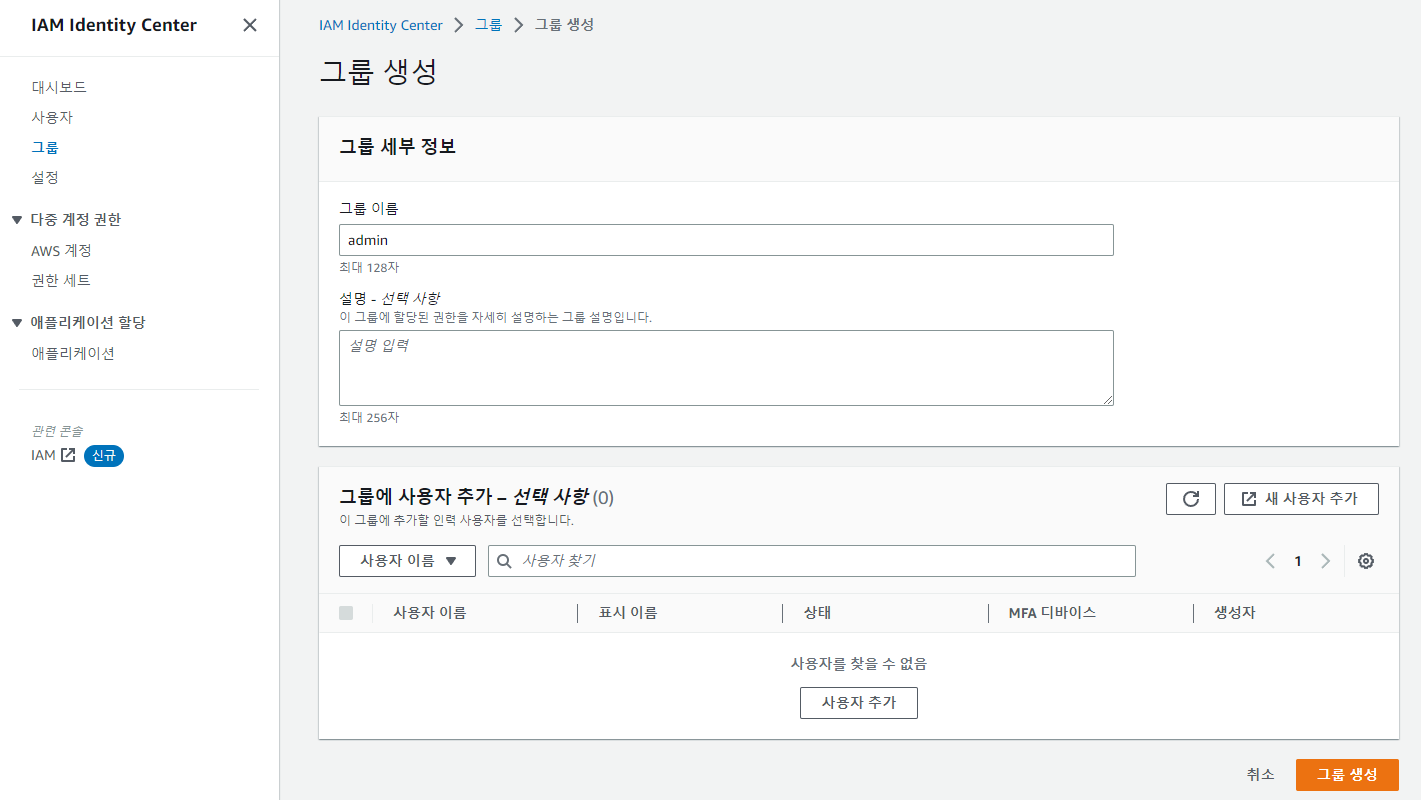
Add a group.
7. Let’s add a user!

- After clicking the Add user button…
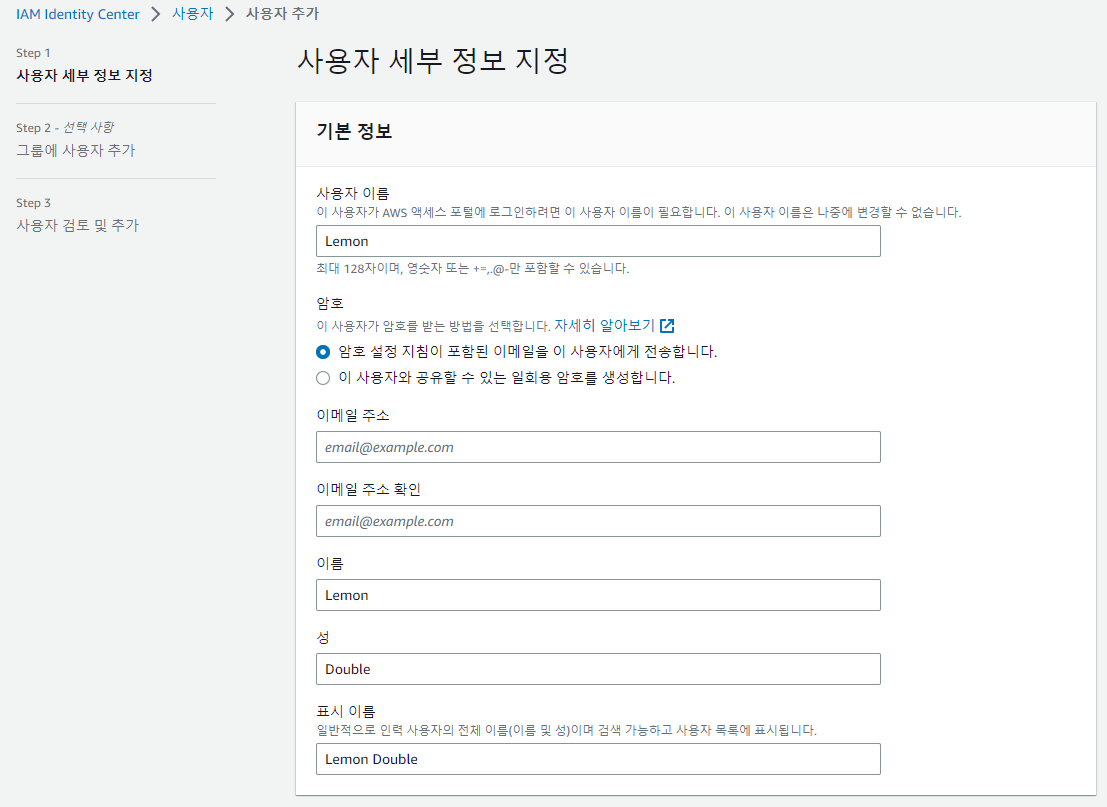
- Enter user info. For the password, you can either send a setup email or generate a one-time password.
- Let’s stick with the default of sending an email.

Then you can select a Group; add the group you set up in step 6.
After that, check your email, accept the invitation, set a password for the account, and write it down somewhere!
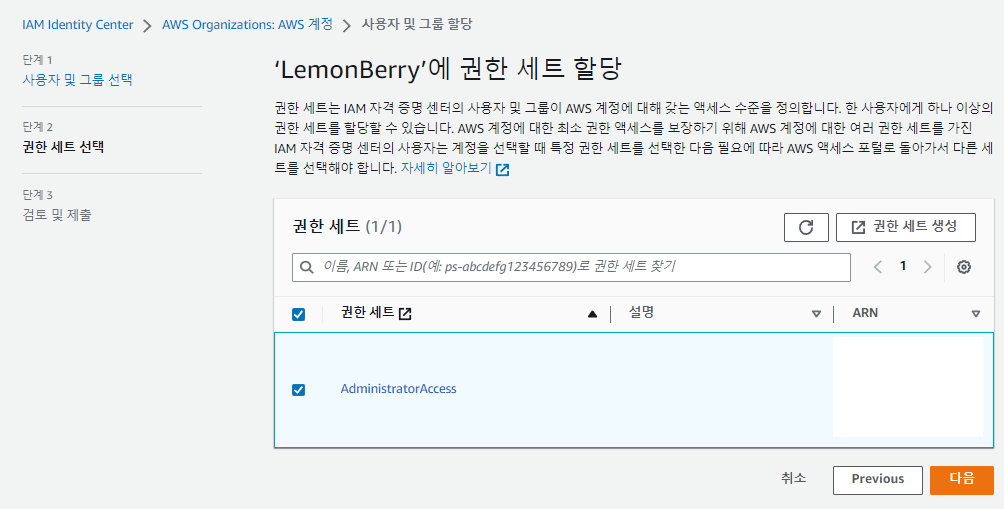
8. Let’s add permissions!
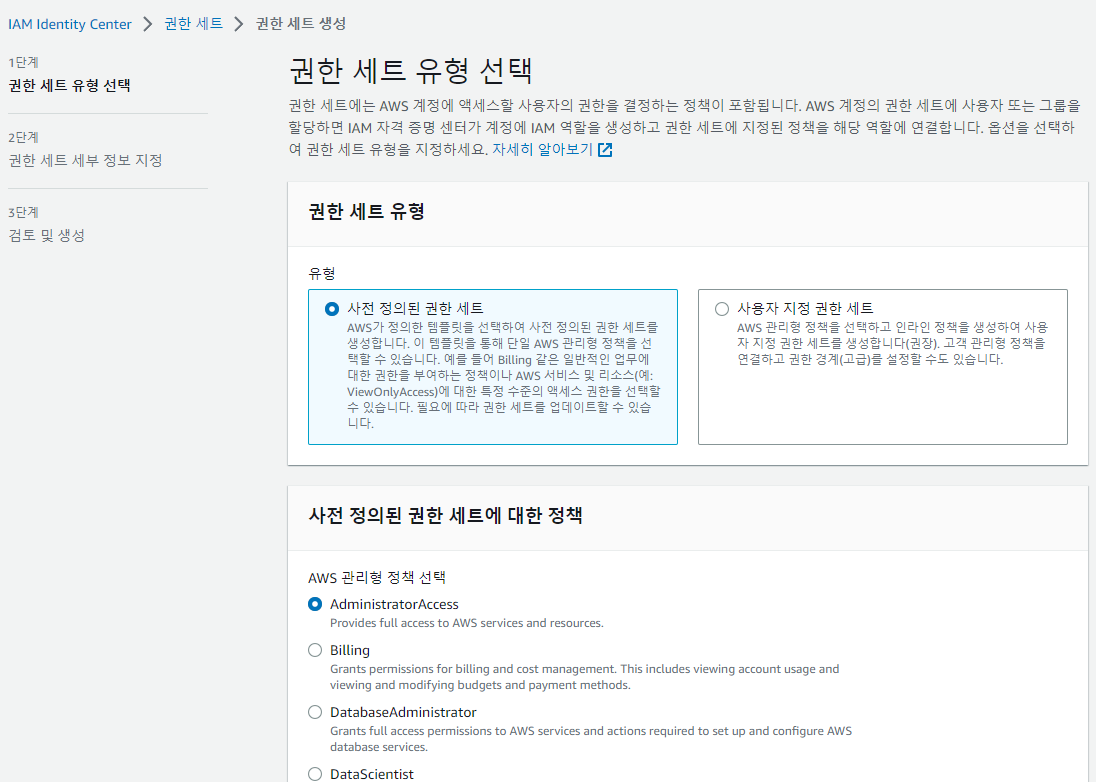
- Pick a permission set. I chose
AdministratorAccess, but you can pick something else. - If the predefined permission sets don’t have the role you want, you can also create a custom one.
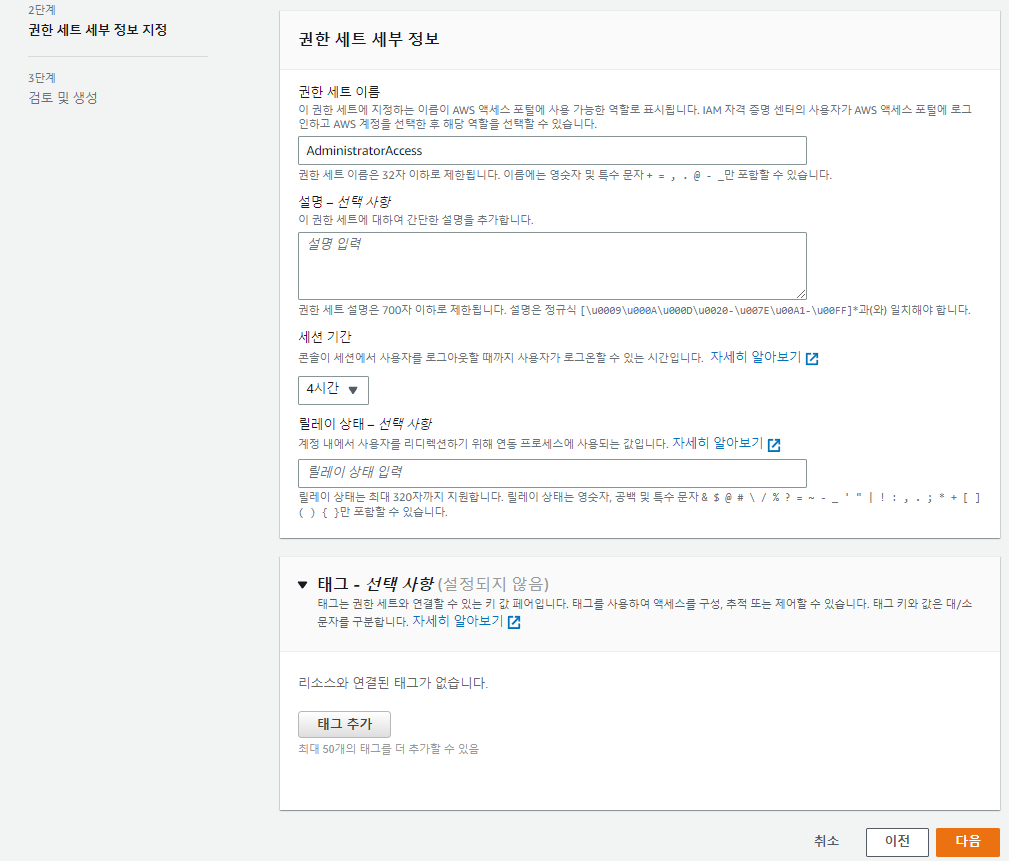
- Then fill in the rest of the settings.
- Session duration is the time after which AWS automatically logs you out.
- The default is 1 hour, but I bumped it to about 4 hours since logging out too often is annoying.
Relay statelets you set a URL to redirect to on successful login. For example, with Billing permissions, it would redirect to the Billing page on login.- If you need this, check the docs (Link ). I left it blank.
9. Configuring SSO Login
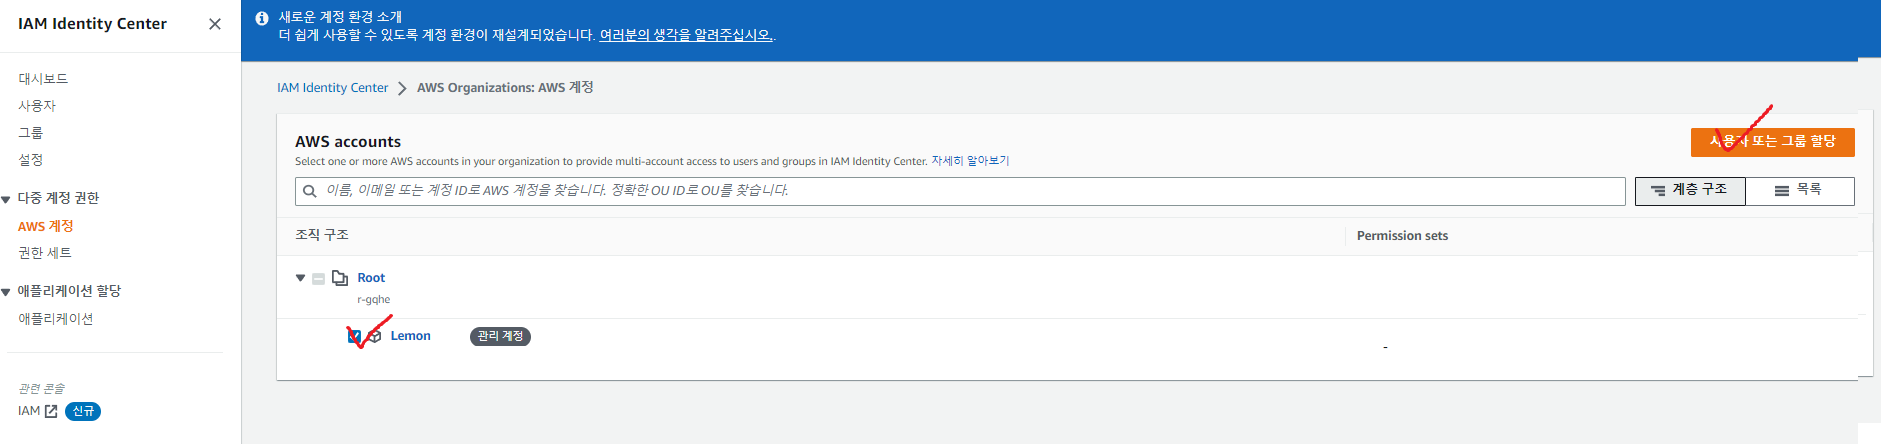
- In the AWS accounts tab, select your account and click
Assign users or groups.
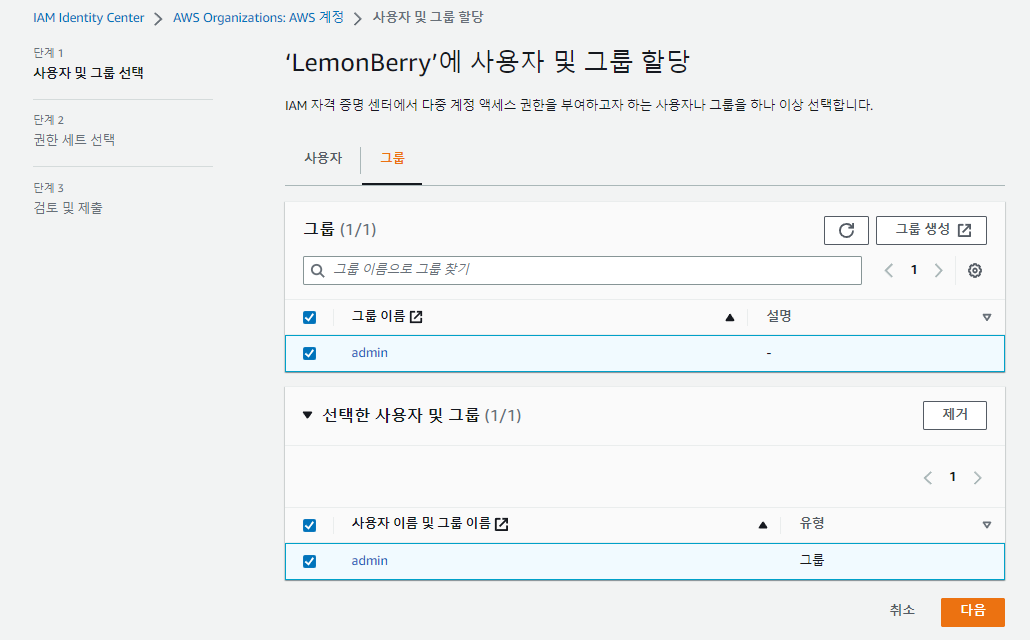
- Add the group you set up above
- And add the permissions you set up above.
10. SSO Login

- Now go to the AWS login URL you set in step 5 and log in. Visit
alias.awsapps.com/startand sign in.
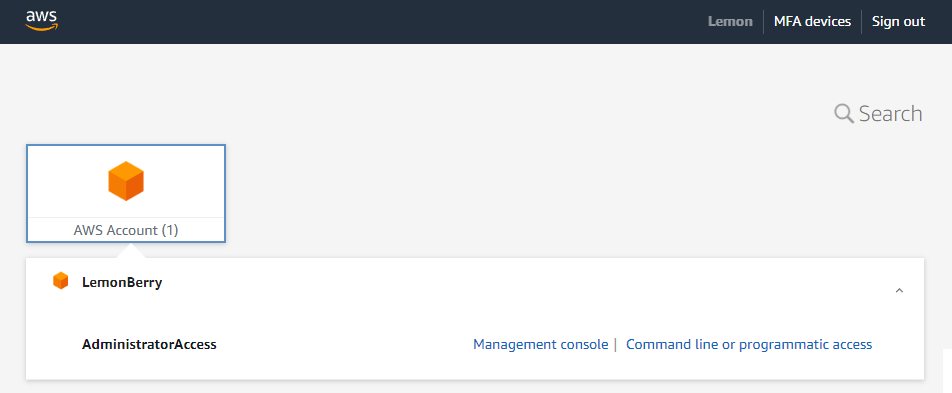
- You’ve successfully set up SSO!
Appendix 1. Hardening Security
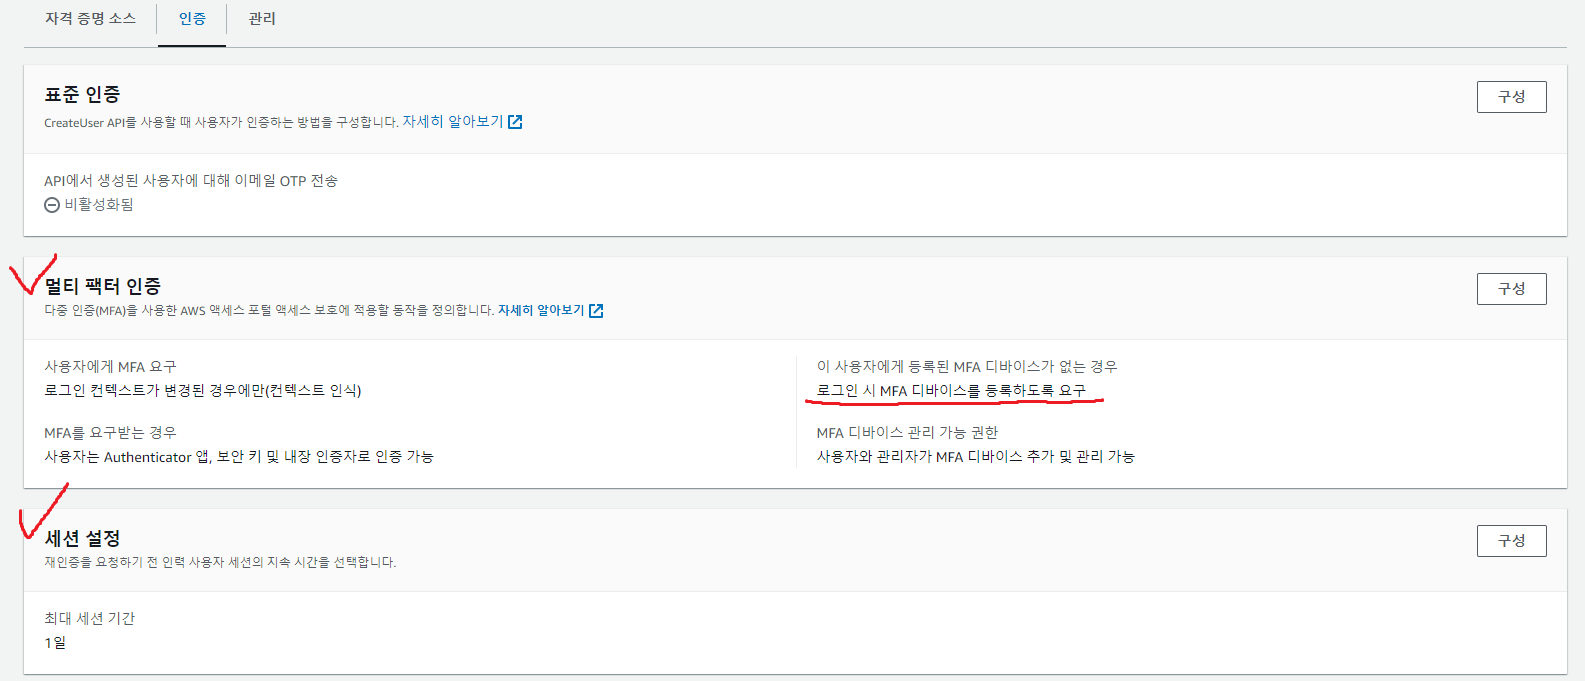
- Under IAM Identity Center - Settings, you can configure MFA for your SSO accounts, set session length, and more.
- Even if you keep everything else as-is, I recommend enabling
Require them to register an MFA device at sign in, if they don't have one yet.
Appendix 2. Using AWS_CLI with AWS SSO
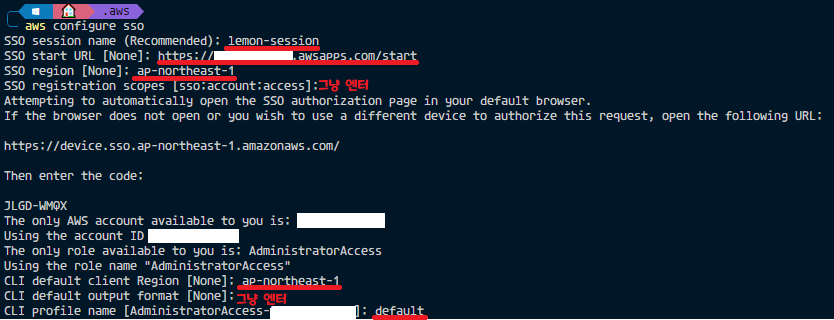
- After SSO is set up, run
aws configure ssoto configure login as shown above. (The lines underlined in red are entered manually.) - Once configured, run a command like
aws s3 lsto verify that everything is working.
Comments